(8.5 hrs)
Apparently, sometimes in the '90s, someone came out with the idea of using big washers (AN970-4) on landing gear mounts. The washers I’m talking about are on the outside of the fuselage, underneath the foam.
Apparently, sometimes in the '90s, someone came out with the idea of using big washers (AN970-4) on landing gear mounts. The washers I’m talking about are on the outside of the fuselage, underneath the foam.
The reason for the modification was that the original washers (AN960-416) tended to crush their way into the wooden longeron over time, and cause a loose feeling in the main landing gear.
 |
| Central States Association January 2013 newsletter |
The reason I did not want to replace mine, was purely due to the amount of work involved. It was going to be a big pain in the rear, and I was afraid I might end up damaging something else in the process.
Now, most of the people I talked to never heard of this problem before, so it’s probably not a very common issue. Nevertheless, because I still had the extra thin washers out there (AN960-416L) by mistake, I felt that my safety margin was heading in the wrong direction.
 |
| From left to right: AN970-4, AN960-416, AN960-416L |
In light of the latest news (for me at least), I decided to finally take action, and as you’ll see, the process was not enjoyable by any stretch of the imagination. Cutting into my work was stressful, but luckily for me, I had not yet skinned the outer fuselage, so the removal of the washers was not as bad as it could have been.
I made a 36 minute video of the removal of the left side washers, that you can see it here...
Long video - ALERT!!
... or, you can look at the pictures I took while working on the fuselage.
It all started with cutting a nice hole into the very foam I spent so much time caring for, and shaping.
 |
| Doing the unthinkable! |
The goal is to uncover the head of the bolts...
| Found them! |
... which are encased in micro...
 |
| More bolts under there... |
I just used this little tool as a chisel, to knock big chunks of micro off the bolt.
| Makeshift chisel |
Similarly, I removed foam and micro from the other buried bolts.
 |
| More digging |
 |
| More Micro encased bolts |
 |
| These bolts need to come out |
Removing the bolts was very tough (just look at the video above), requiring heating, and banging with a rubber mallet.
Once the bolts were off, I was able to trial fit the new washers, and had to shape them on the grinder, and smooth them on the belt sander, since they were too big to play nice with each other.
 |
| Modified big washers |
 |
| Almost got away with it here! |
 |
| Lots of shaping with these two |
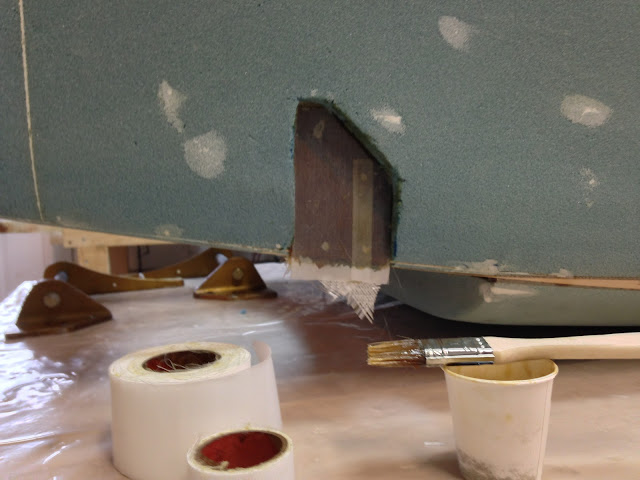
The last step was to sand everything down, and beef things up with a few extra plies of BID.
 |
| Fresh epoxy |
 |
| Beefing up the structure |
 |
| A little peel ply |
 |
| All finished up for the day |
Once it all dries up, I will drill the holes once more, reinstall the gear mounts, bolt it all back together, and replace the missing foam.
All in all, I am really glad I did this. I would encourage anyone who has not yet skinned the fuselage to make the switch, since it is very doable at that stage. If you wait until your plane is on its gear, it might just be too difficult.
No comments:
Post a Comment